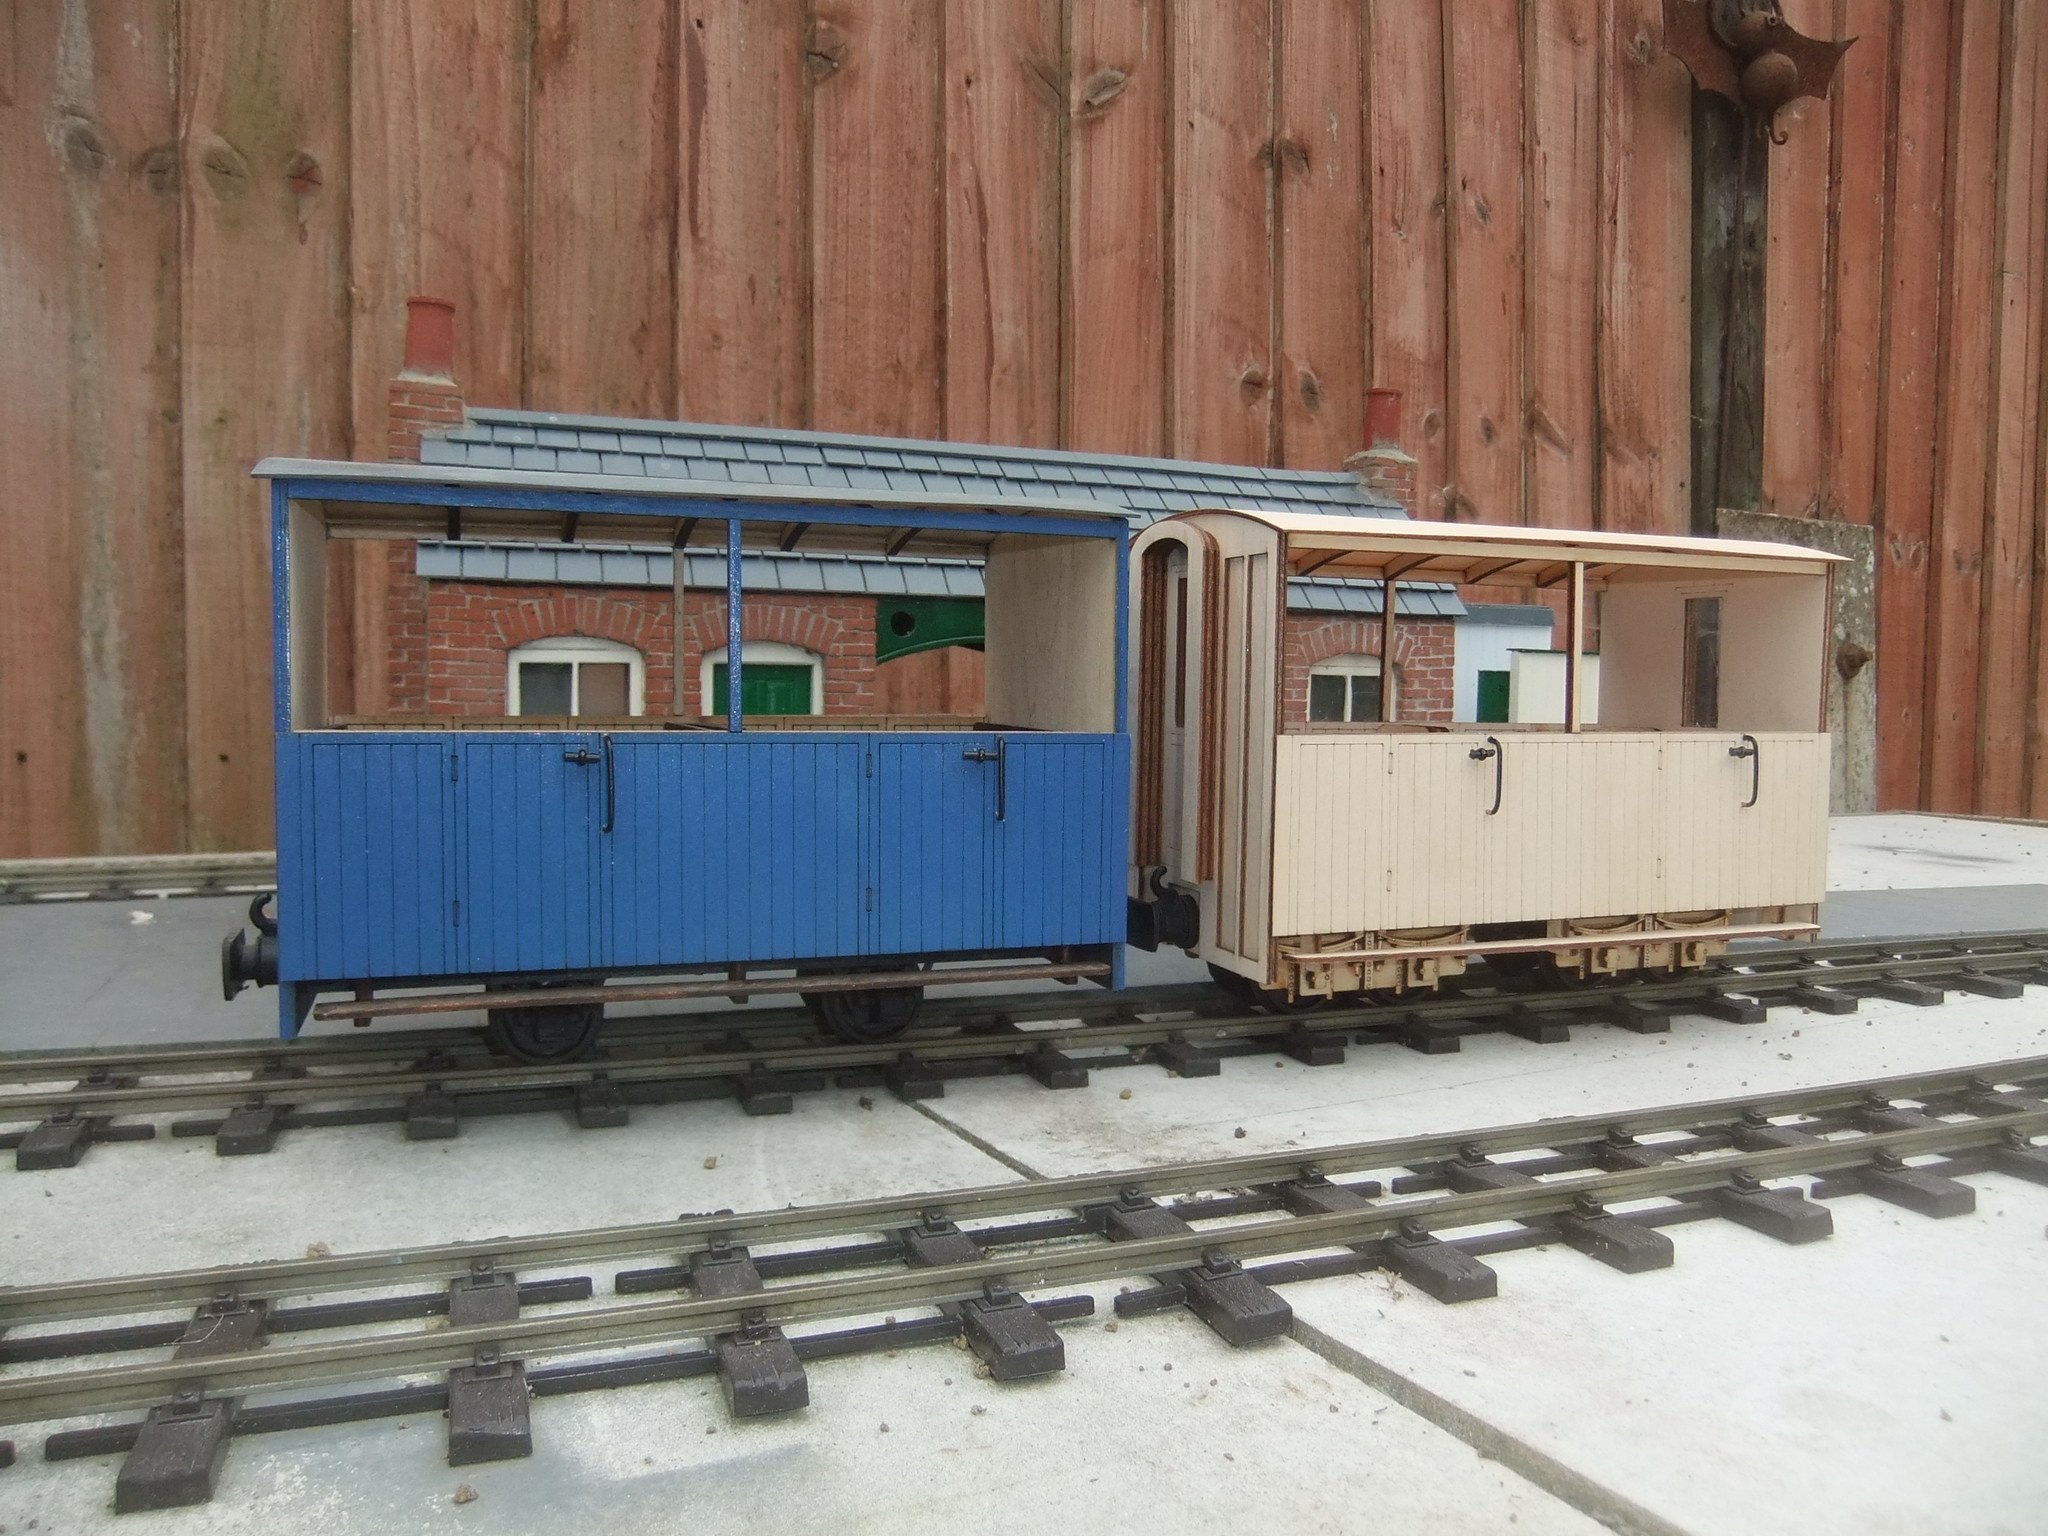
2 Compartment Covered Build
Step 1 Build the Structure
The carriage central body is built using two jigs to keep it flat and square. The jigs act as an extra pair of hands keeping the structural sides in place whilst the glue dries leaving your own hands free. The sides fit down the edges of the floor and are flush with ends of the floor. The same method is used for full height sides with windows. The tin just holds everything down and flat.
The ends, in this case corridor ends are just glued up with the edges flush. As this is a corridor carriage a small piece of plastic glazing is inserted between the layers.
Once dry the next stage can be tackled.
Step 2 Adding the Ends
The prepared ends can now be added to the carriage. The jigs are just the right height so that the ends can sit on the same surface. The top jig can be used to ensure that the top of the sides is the right spacing. A rubber band, piece of string, clamp can be used to hold the ends on whilst they dry. Best to do one end at a time.
Once dry the body should be straight, square and true. This will ensure a smooth easy running carriage.
Step 3 Surface Layers
Now the carriage can be carefully removed from the jigs so that the surface layers on the outside of the carriage and inner sides can be added. These not only look nice but add strength to the carriage and reinforce the end joints due to the overlap. These layers are best held in place using clothes pegs or weights.
If the carriage sides has windows then this is the time to add the separate frames into the holes provided in the structural sides. Having separate windows allows for easy painting and windows to be made open.
The corridor ends have also been added to complete the ends.
Step 4 Interior & Roof Structure
The chairs or benches can now be made up an glued into place. As this is a bogie carriage the floor has been drilled and the set screws and washers put in place before the roof structure has been assembled.
Covered carriages roofs are not removable unlike the fully enclosed carriages. Figurines are easily added through the sides. Superglue being the best glue for the slender rails.
Example Interior
The photo shows the level of detail that can easily be achieved with careful staining of the floor, chairs, etc. In this case the fully enclosed carriage has: planking, panelling, seating, luggage racks, vents, etc. Separate windows to give exterior and interior relief, allowing easier painting and customisation to allow for open windows, as shown in the central window opening.
Many kits have removable roofs or open sides so that you can populate your finished models and admire the interiors.
Step 5 Roof & Wheels
With the interior finished, now is the time to add the rood and wheels. As this is a bogie carriage the bogies have been added first as the covered carriage has a fixed roof. Otherwise with a removable roof the wheels are best added afterwards as they complicate holding down the roof whilst gluing.
The roof is glued onto the carriage ribs using superglue. It is supported at the edge by two square sections. The weight just holds it in place whilst it sets.
Note that the buffers have also been added as well.
Example Bogies
Bogies were selected for this model for fun, they are completely unnecessary as 4 wheels are more than adequate. The construction of the bogies is shown in another how to series.
The bogies have lots of relief, springs, hangers, axle boxes, horn guides, rivets, etc. Rigid box chassis with compensation for pitch and roll. Encased sealed ball bearing for no maintenance and low friction running.
Example 4 Wheels
4 Wheeler carriages use chassis rails spaced apart using the jig supplied. Nylon low friction axle boxes with wheels and axles in place are then glued to the chassis rails at the marked rivet locations.
Note that this model is a Alpine Tourist 1 Compartment Carriage of a similar length.
Step 6 Finishing Touches
Door handles and handrails are added to each side. The door handles are made of split pins and cocktail sticks painted black. The handrails are made using a small jig to bend the wire provided to a consistent shape. Small holes are drilled in the sides to attach.
The corridor ends also have handles that can be made in the same way or with straight wire.
The last step is to glue the steps on the outside. The carriage is now ready to run.
Finished Awaiting an Engine
Two 2 Compartment Covered Carriages completed ready to run. The one on the left is a non-corridor 4 wheeler, the one on the right is the corridor bogie version.
Note full printed instructions are included in every kit. Example instructions can be found on the How to / Resources page.


